Create a new project
– or –
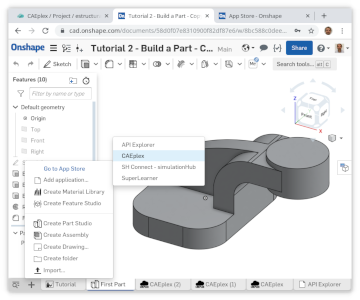
Use CAEplex from Onshape
– or –
Use CAEplex from Onshape
This tutorial is based on Simscale’s first tutorial . You may check it out to see the differences and how simpler CAEplex’ approach is.
You can open a finished tutorial project, but you need to log-in to clone the finished project or to create a new empty tutorial project from scratch.
Watch the videos below and reproduce the steps in a real CAEplex project.
20 (MPa) in the pressure field3 (mm) in the Global element size ℓc field.